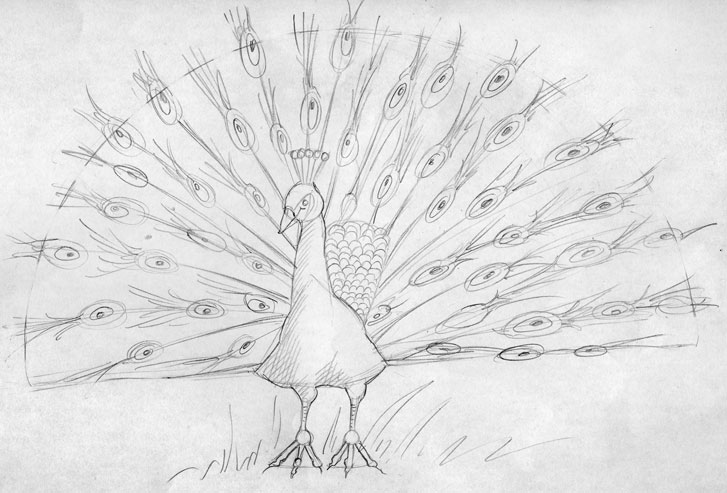
step by step illustration
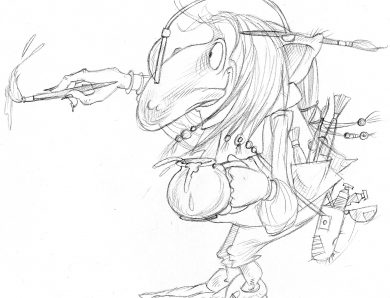
This post about step by step illustration was inspired by my being approached by a fellow blogger who would like to publish a post about me. She obviously loves illustration and likes to promote it and show insights into the world of illustration. The post will consist I think of an on-line interview and a step by step illustration.
So my post today is inspired by this idea and I thought I would share with you one of my storyboards showing step by step illustration. This I completed a few years ago for videojug.com. The videos comprised of step by step illustration or ‘how to draw’ various things. All of which were based one what people actually Google search for on-line.
One I haven’t shared with you is how to draw a peacock! So the following shows step by step sketches! Good luck!
Step 1 – sketch some basic shapes to form the skeleton of your drawing:

Step 2 – Start to add smaller basic shapes that will become feet, facial details, etc
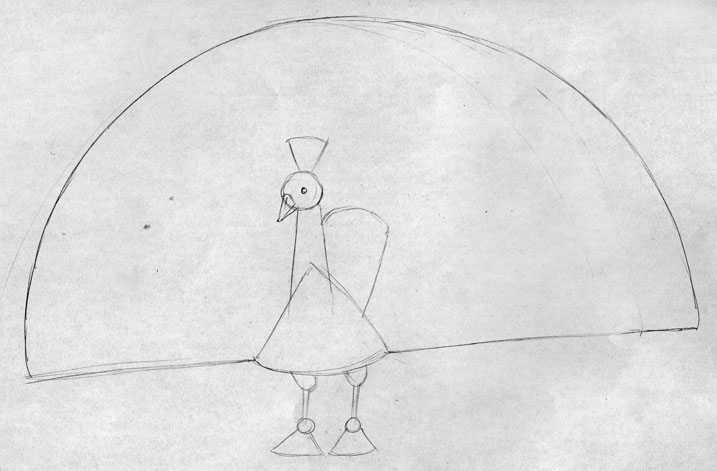
Step 3 – Now you can start to add finer detailing on feet, crest, and tail.
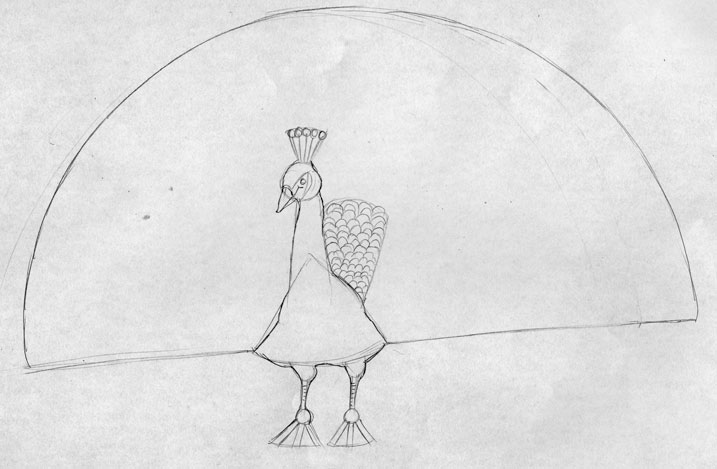
Step 4 – Now start to sketch out very lightly the shapes within the fan of feathers

Step 5 – At this point finer detail to these shapes can be added.

Step 6 – Now that you’re really comfortable with the shape, you can finish off with much finer detail and maybe give a sense of where or what the peacock is standing.